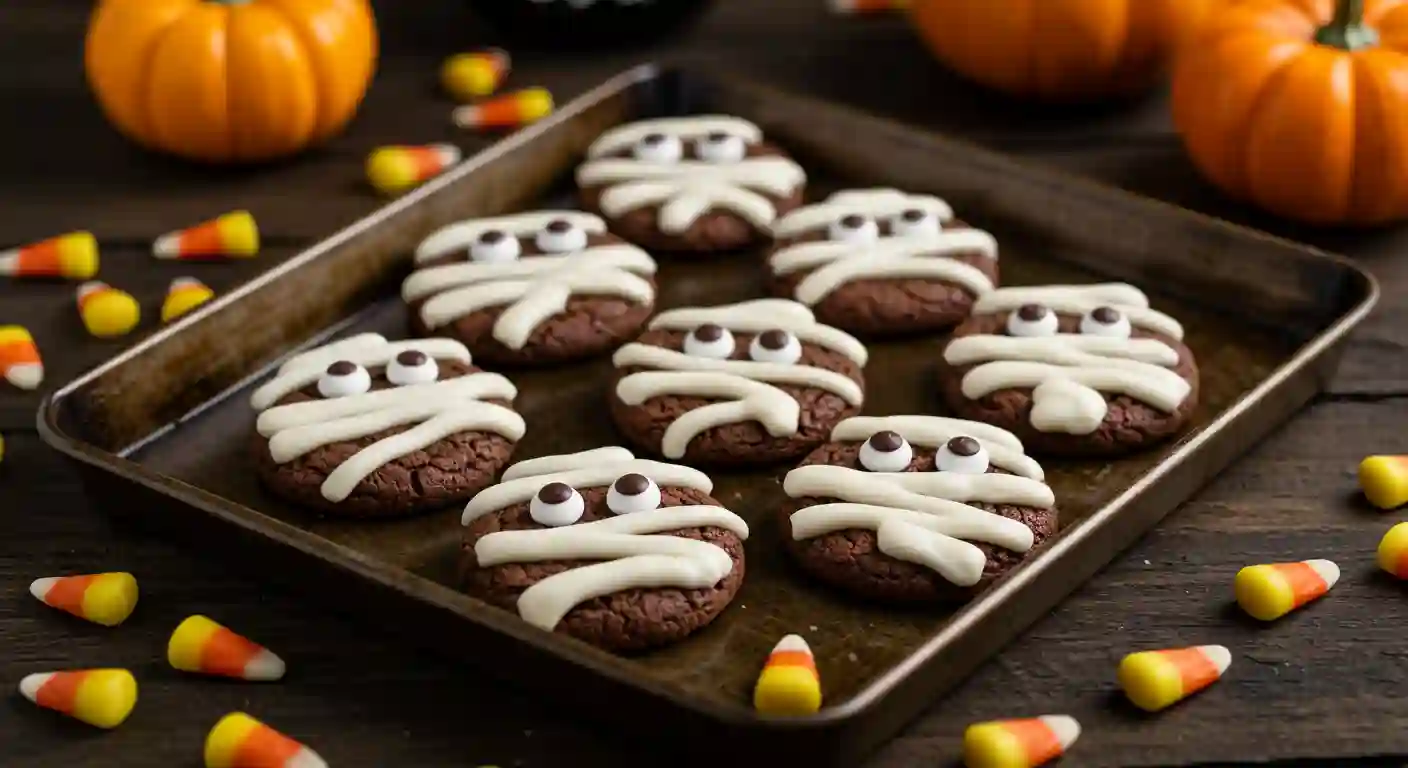
These Mummy Cookies Recipe are spooky, fun, and surprisingly easy to make. Imagine soft chocolate cookies wrapped in sweet vanilla buttercream bandages with candy eyes peeking out. They’re the perfect mix of playful and tasty, which makes them ideal for kids and party guests alike. Whether you’re hosting a Halloween bash or just want a festive treat, these mummy cookies will quickly become a tradition. In addition, Oreo Mummy Cookies give you the same adorable look with less effort.
Why You’ll Love These Mummy Cookies
First, this Mummy Cookies Recipe is as fun to decorate as it is to eat. Kids will love helping with the icing drizzle and eyes, which turns baking into a family project. Next, the recipe calls for simple pantry staples, and the results look like they came straight from a bakery. Finally, they’re versatile—serve them at a Halloween dessert table, tuck them into treat bags, or add Oreo Mummy Cookies for a no-bake shortcut.
Print
Mummy Cookies Recipe (Halloween Chocolate & Oreo Mummies)
- Total Time: 40 mins
- Yield: 14 cookies
- Diet: Vegetarian
Description
Spooky and fun chocolate mummy cookies decorated with buttercream bandages and candy eyes. Includes Oreo variation for a quick no-bake treat.
Ingredients
- 150 g butter / ⅔ cup
- 200 g granulated sugar / 1 cup
- 50 g dark brown sugar / ¼ cup
- 1 egg
- 1 egg yolk
- 1 tsp vanilla extract
- 260 g all-purpose flour / 2 cups
- 40 g cocoa powder / ⅓ cup
- ¾ tsp baking powder
- ¾ tsp baking soda
- ¾ tsp salt
- 80 g powdered sugar / ⅔ cup
- 50 g butter (room temp) / 3½ tbsp
- ½ tsp vanilla extract
- 1½ tsp milk
- Candy eyes
- Oreos for variation
Instructions
1. Melt butter and let cool. Mix in sugars, egg, yolk, and vanilla.
2. Whisk flour, cocoa, baking powder, baking soda, and salt. Fold into wet mix.
3. Chill dough 30 minutes. Preheat oven to 350ºF.
4. Scoop dough, flatten, place on trays. Bake 9–10 minutes.
5. Cool cookies 3 minutes on tray, then move to rack.
6. Beat powdered sugar, butter, vanilla, and milk for buttercream. Stir smooth.
7. Pipe buttercream bandages on cooled cookies, add candy eyes.
8. For Oreo Mummy Cookies, dip Oreos in white chocolate, drizzle more, and add eyes.
Notes
Store decorated cookies airtight at room temp up to 3 days or in fridge for 5 days. Oreo mummies keep a week refrigerated. Let chilled cookies rest 15 minutes before serving.
- Prep Time: 30 mins
- Cook Time: 10 mins
- Category: Dessert
- Method: Baking
- Cuisine: American
Ingredients
Before you start, gather everything you need so decorating feels fun instead of rushed. These mummy cookies use basic baking staples for the chocolate cookie base, plus a quick buttercream for the bandages. Finally, candy eyes bring the spooky charm to life, and Oreos give you a no-bake variation that’s just as festive.

Pantry & Fresh
| US Customary | Metric |
|---|---|
| Halloween Mummy Chocolate Cookies | |
| ⅔ cup butter | 150 g |
| 1 cup granulated sugar | 200 g |
| ¼ cup dark brown sugar | 50 g |
| 1 egg + 1 egg yolk | — |
| 1 tsp vanilla extract | — |
| 2 cups all-purpose flour | 260 g |
| ⅓ cup cocoa powder | 40 g |
| ¾ tsp baking powder | ¾ tsp |
| ¾ tsp baking soda | ¾ tsp |
| ¾ tsp salt | ¾ tsp |
| Vanilla Buttercream | |
| ⅔ cup powdered sugar | 80 g |
| 3½ tbsp butter (room temp) | 50 g |
| ½ tsp vanilla extract | — |
| 1½ tsp milk | 1½ tsp |
| Candy eyes | — |
Tip: For the most accurate results, weigh ingredients with a digital scale. Baking often requires precision, and grams ensure consistency.
Substitutions
If you prefer a shortcut, swap homemade cookies for store-bought sugar cookies or chocolate chip cookies. Alternatively, white candy melts can replace buttercream for quicker decorating. For a gluten-free option, use your favorite flour blend. Finally, Oreos dipped in white chocolate make fun no-bake mummy cookies.

Step-by-Step
1. Make the Cookie Dough
First, melt the butter gently and let it cool to room temperature. Then, mix in granulated and brown sugar until smooth before adding the egg, yolk, and vanilla.
2. Combine the Dry Ingredients
Meanwhile, whisk together flour, cocoa powder, baking powder, baking soda, and salt. Next, fold into the wet mixture until just combined.
3. Chill and Shape
After that, refrigerate the dough for 30 minutes. Then, preheat the oven to 350ºF. Scoop dough into balls, flatten slightly, and place six per tray.
4. Bake and Cool
Bake for 9–10 minutes. Afterward, let the cookies rest on the tray for 3 minutes before moving them to a cooling rack.
5. Make the Buttercream
Meanwhile, beat powdered sugar, butter, vanilla, and milk until smooth and fluffy. Then, stir with a spatula to remove air bubbles.
6. Decorate Like Mummies
Finally, pipe buttercream bandages over the cooled cookies and attach candy eyes before it sets. With these steps, your Mummy Cookies Recipe will look just like bakery-style Halloween treats.
7. Oreo Mummy Cookies
For the variation, dip Oreos in melted white chocolate. Then, let them set, drizzle more chocolate for bandages, and press candy eyes on top.
Pro Tips
To begin with, work with chilled dough to keep cookies thick and chewy. In addition, use a piping bag with a small cut for neat buttercream bandages. If making Oreo Mummy Cookies, place them on wax paper so they lift off cleanly once set. As a final tip, store extra buttercream in the fridge, and let it soften before using again.
Variations & Substitutions
For a twist, try different cookie bases such as sugar or chocolate chip. In addition, swap the buttercream for melted white chocolate to save time. On the other hand, for a vegan option, use plant-based butter and non-dairy milk. Kids may also enjoy giving each cookie a funny personality with different eye sizes or sprinkles. As a budget-friendly approach, simple white icing works just as well. You could also try Melt-in-Your-Mouth Snowball Cookies as another festive variation.
Serve It With
These mummy cookies pair well with Halloween Brownies, Ghost Cupcakes, Candy Corn Bark, or even Graveyard Dirt Cups. As a result, your dessert table will look festive and balanced.
Storage & Reheat
To store, keep decorated cookies in an airtight container at room temperature for up to 3 days. Alternatively, refrigerate them for 5 days. If stacking, place parchment paper between layers to prevent sticking. Oreo Mummy Cookies can also be refrigerated for a week. For the best taste, let chilled cookies rest at room temperature for 15 minutes before serving. For more guidance on safe handling, check the USDA’s advice on food safety.
Nutrition
Each cookie has about 220 calories with 10 grams of fat, 32 grams of carbohydrates, and 3 grams of protein. Sugar content is around 18 grams per serving. As with most decorated cookies, values may vary slightly.
FAQs
Yes, store-bought sugar cookies or chocolate chip cookies work well as a base. Then you just need to decorate with icing drizzle and candy eyes to achieve the mummy look.
Start with a microwave-safe bowl and heat in 20-second intervals, stirring each time, until smooth. Alternatively, melt over a double boiler for gentle, even heat.
Absolutely. Kids can drizzle icing, press on candy eyes, and create fun mummy faces. However, make sure an adult handles the oven and melted chocolate.
Simply place them in an airtight container at room temperature for up to 3 days. For longer storage, refrigerate for up to 5 days, separating layers with parchment paper.
More Like This
If you’re craving more seasonal baking, try our Melt-in-Your-Mouth Snowball Cookies that practically dissolve with each bite, or whip up an Easy Brownie Recipe you can dress up with festive sprinkles. You’ll also love our cozy Honey Banana Bread for fall mornings and decadent Pumpkin Chocolate Brownies that combine pumpkin spice with rich cocoa.
Save This Recipe for Later
Pin or bookmark this recipe so you can come back to it every Halloween. With playful looks and sweet flavor, this Mummy Cookies Recipe always steals the spotlight at parties.